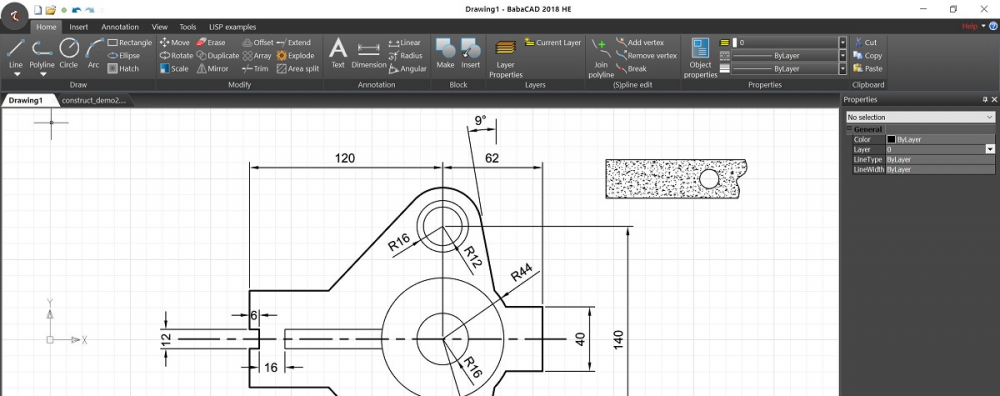
In this article, I’m going to teach you about how to use basic BabaCAD drawing features.
To delete BabaCAD text objects, use right to left selection mode, and then choose delete from right mouse click menu.
Ok, let me explain how to draw a line object.
To start drawing a line object, just click on line icon on the left toolbar, or type line, in the command window at the bottom. Click with left mouse button in work space to insert first point of the line. Next, specify second point and press Escape key or click with right mouse button to finish the line. To finish any command, you can press escape key or click right mouse button and choose an option from menu window. I prefer to press escape key to finish a command.
Move pointer around the line and click with left mouse button to select the line object. You can select object using left to right and right to left smart selection methods also.
If you click left mouse button and move mouse to the right and click again, all objects inside the rectangular selection area would be selected.
If object is selected, it’s grip points would be shown. For a line object, we have a two end points, and one middle point. We can move pointer close to grip point, and we will notice how it will snap to exact point location. Look down to the left corner of application window, and you will see precise coordinates of snapped grip point.
How to draw other primitive objects, like circle and arc?
Click on circle icon in the drawing toolbar to draw a circle. You will be prompted to specify the center of circle object. We can enter the precise coordinates in the command window, or we can just specify point by clicking in work space. For example, we can enter the 18.25 for x, and 11.2 for Y coordinate. You must press enter on the end to finish the input. Now, we need to specify the circle radius. I will enter the value of 10.
Move around circle and click with left mouse button to select the circle object.
You can see the grip points of our circle object. We have a four quadrant points and one center grip point of the circle.
If you want to modify the radius of the circle, click on any quadrant point and move pointer to adjust the radius. Also, we can modify any object’s parameters in the property window, which is located at the left.
We can also move any object by using a command move, or for some objects we can just click on specific grip point and move the object to another location.
For circle object, click on center grip point and move the circle to a new location.
If we want to move it to exact coordinates of a new location, we can change the center property in the properties window, or we can use a command move.
Click on move icon in the modify toolbar on the right. Next, select the object that you want to move, and type exact coordinates to move object to.
To deselect objects, press escape key on keyboard, or click right mouse button and choose deselect.
To move workspace around, press and hold scroll mouse button, and move mouse around. This is also called a pan command.
If you have mouse with just two buttons, then you can click on pan icon on the top to pan around.
To zoom in and out, just use your scroll wheel, moving up and down. For two buttons mouse, use zoom commands from zoom toolbar or type zoom or just z in the command window.
To get all drawing objects on your workspace, use command zoom extent. Click on zoom extent icon, or choose from right click menu.
Let’s draw an arc object. Click on arc icon in the drawing toolbar or type arc in the command window.
Look at the command window. We are prompted to specify start point of the arc or we have option to specify center of the arc. We can see options closed in brackets.
I will choose to draw from start point, so I’m going to specify start point. Next, we have to specify second point of the arc. To finish, I will specify the end point of the arc.
We can select and modify the arc object as any other object. Click to select, then pick a grip point and move to change a shape of arc object.
